


Well! If you are reading this article, you might be planning to make your career as a motion graphic. As per the recent trends, a motion graphic career is in high demand. Almost every organization is hiring the best designers to expand their designing team and offer excellent services to their customers.
The primary objective of the organizations is just to create the kind of transitions and interactions through their design that further delight users. Well! When it comes to motion graphics, then the chances are, you probably have a good understanding of tools, especially Adobe after effects, because 90% of the companies prefer to hire a candidate having good knowledge about designing tools.
Probably it would not be wrong to consider Adobe After Effects as the hidden gems of a motion graphic career. If I am not wrong, then you might be familiar with this and looking forward to taking a closer look at the features of the After Effects menus.
So, without any further ado, let's know the usage of After Effects menus in detail.
Understanding After Effects Menus
Basically, After Effects has ten menus on Mac OS and nine on Windows; you can see these menus on the top of the application window that further cones with different panels to provide an easier interface for the users. Even if you are fresher, there are some menus that you might be familiar with, as it is also seen in other applications like File, Edit, View, Help, etc.
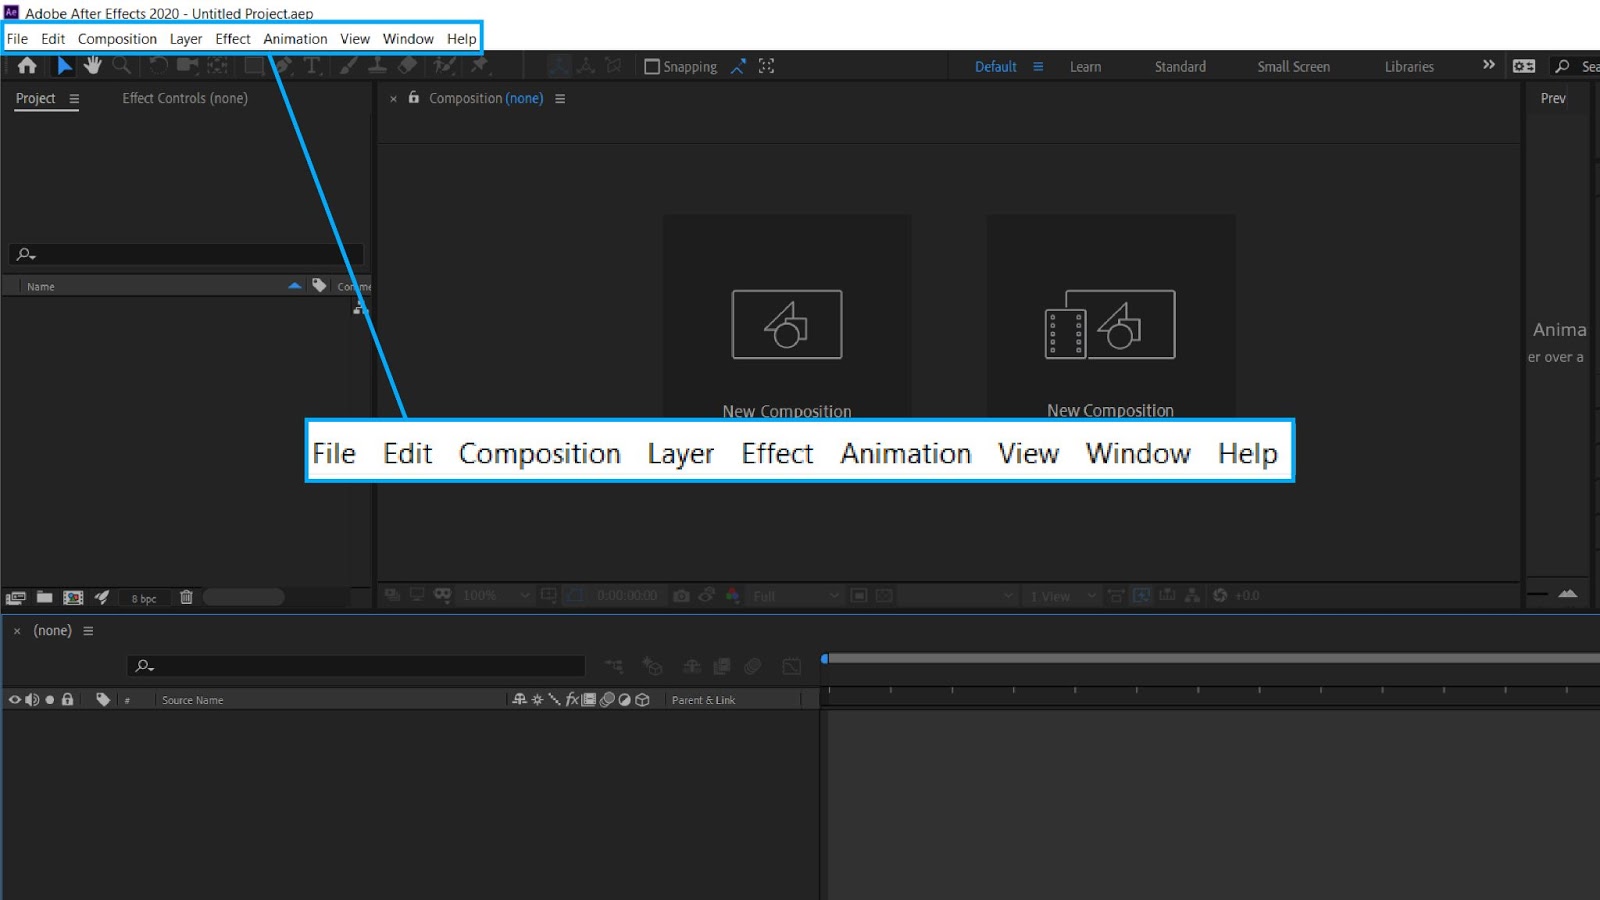
The After Effects menus is the backbone of the entire tool. Remember, once you are familiar with its menus, then you can easily crack the motion graphic interview, and you can start your career as a motion graphics designer.
Now, let's first explore the After Effects menus that are common for both Windows and Mac.
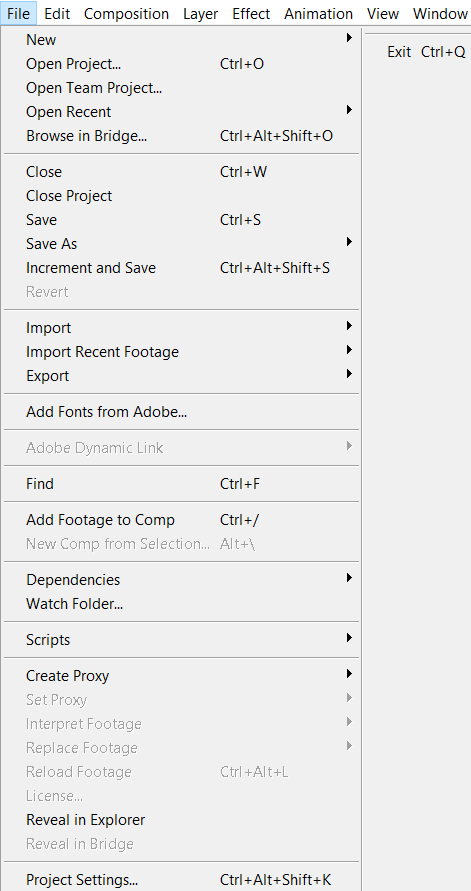
File
Just as in other applications, the File menu is used to create new files, opening existing files, saving files, importing/exporting files, etc. Similarly, it functions the same in After Effects.
Along with all these commands, the File command in After Effects allows you to collect your files by selecting dependencies > collect files and change the project settings like color, audio, expressions, etc. Moreover, with the feature of browsing files in Bridge, you can create incremental saves and gather output files.
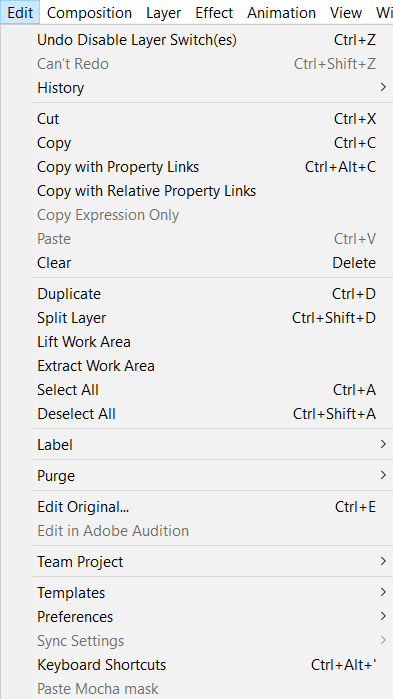
Edit
You might have seen the edit option in all the menu bars of tools. Then how Adobe Effects can ignore adding this feature to its tool. As in other programs, the Edit menu is used to cut, copy, paste, delete files along with other tasks like lift and extract your work area, purge all your memory and disk cache; you can do the same in After Effects.
Including all these functions, you will see a preference dialog box while working in windows. The Preference setting allows you to modify audio settings, general settings, and many more.
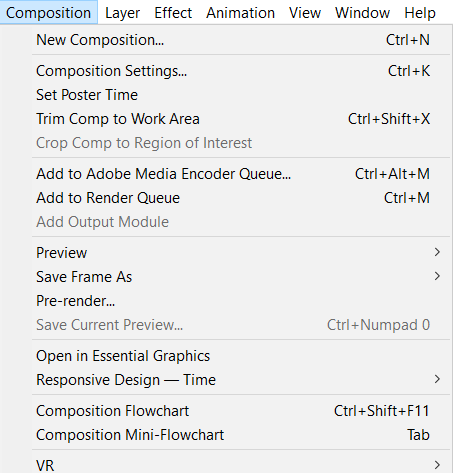
Composition
Next comes Composition. This menu is used to make changes in your Composition, which plays a huge role in creating a video. It allows you to set poster time, add render to the queue. Three main things used in the After Effects Composition menu are:
- Composition Settings
- Trim Comp To Work Area
- Save Frame As
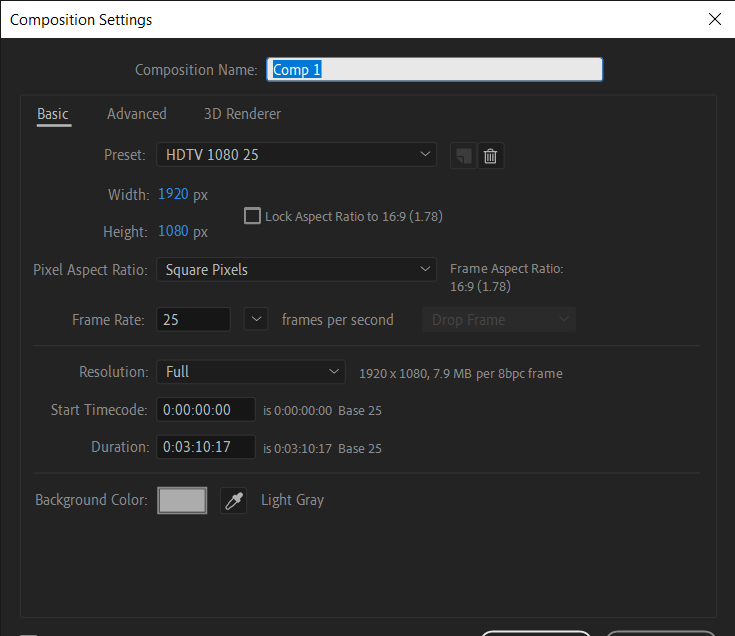
Composition setting
In this panel, you can change any core aspect of your Composition, such as the name of the Composition, select any size preset, or manually adjust the composition's height and width. Moreover, you can also choose the frame rate, adjust the duration of the video and select the background color of your Composition.
Shortcut for composition setting-
- Command+K (Mac OS)
- Ctrl+K (Windows)
Trim Comp to Work Area
This option allows you to adjust the length of your project/ work area by dragging the blue markers on your Composition. You can also utilize these keyboard shortcuts to access this option-
B - Start of your work area
N - End of your work area
Then navigate to Composition> Trim Composition to Work Area. Moreover, you can also hit Control and click on the work area to use this option.
Save Frame as
It is one of the commonly used commands by designers. Sometimes you get a still image for editing in photoshop. So for that, navigate to Composition> Save Frame As, or you can also use the shortcuts added below-
- Option+Command+S (Mac OS)
- Control+Alt+S (Windows)
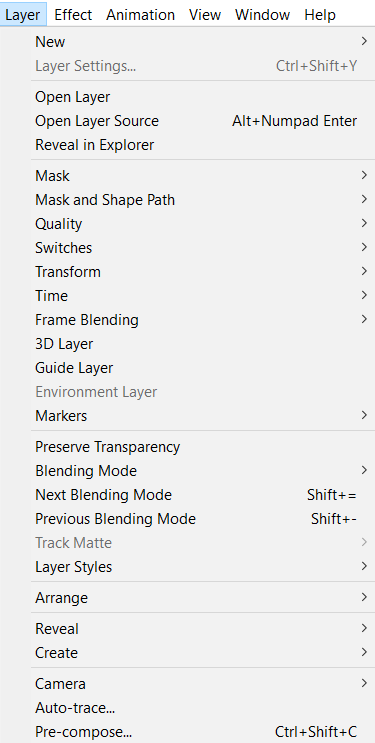
Layer
The layer option helps you control layer creation, settings, style, and pre-compose options. You can create a new layer for Text, Solid, Light, Camera, Null object, Shape layer, Adjustment layer, Content-aware fill layer, Adobe Photoshop file, and MAXON CINEMA 4D file.
Moreover, under this option, you can control the Layer setting (ctrl+shift+y), create a new mask on the layer, transform the layer properties, change its blending mode, and the most important one is pre-compose it (ctrl+shift+c).
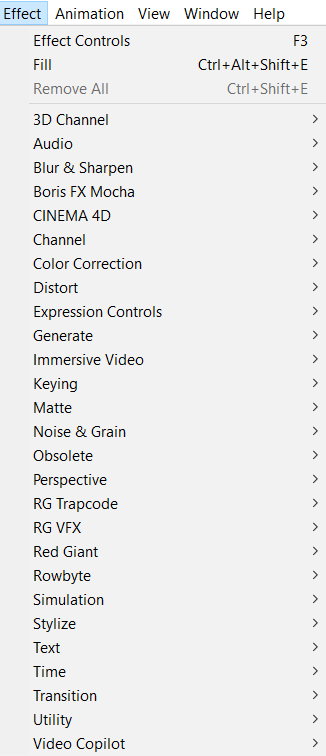
Effect
The Effect is another option that you can use to apply layer effects. It can either be simple color corrections, drop shadows, or advanced operations, like chroma-keying, explosive simulations, particle generation, etc.
Under this menu, you will get a list of all the effects for your composition layers. Let's have a look at some of its top features-
Access the Effect Controls
Sometimes you might not find the effect control panel in our workspace, so you need to go to Effect> effect control to have this option in your work area.
Apply a previous effect
While designing a video, we try to have the same Effect in another layer, and for that, you need to select the layer that you want to apply the Effect to in your timeline.
Go to Effect> and look at one item below the Effect Controls. It will store the last Effect that you used elsewhere in the project. You can also try the keyboard shortcut:
- Option + Shift + CMD + E (Mac OS)
- Option + Shift + Control + E (Windows)
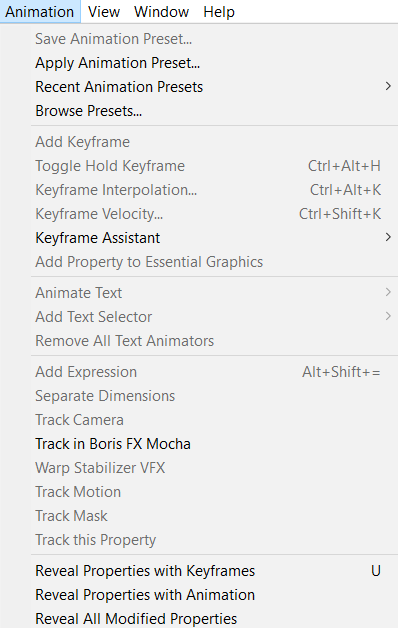
Animation
Are you looking for a command that helps you to accomplish animation and command tasks like adding property keyframes to create animation, etc.? If yes, then you should learn about the Animation menu of after-effects.
Take a look at some of its features-
Animation Presets
It allows you to save an animation preset and apply that one animation to another layer or project easily.
Keyframe Properties
It includes all the properties for the keyframe like add keyframe; Toggle holds keyframe, Keyframe interpolation, and keyframe velocity.
And much more with the Keyframe Assistant.
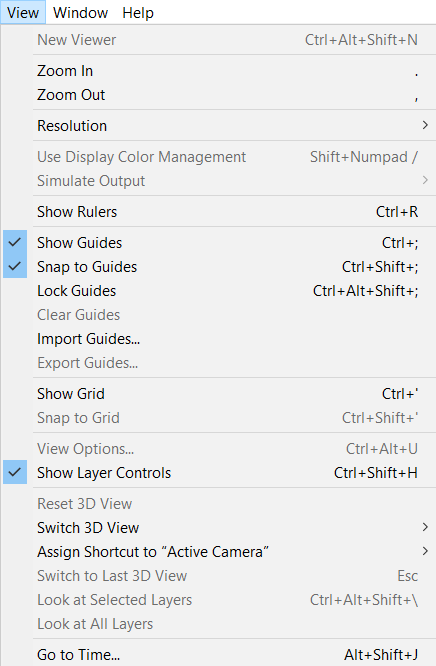
View
If you want to control the composition panel easily, then make yourself familiar with the view menu. This option allows you to easily zoom in and out, open new preview windows, control the guides options like show guides, lock guides, import, and export the guides, etc.
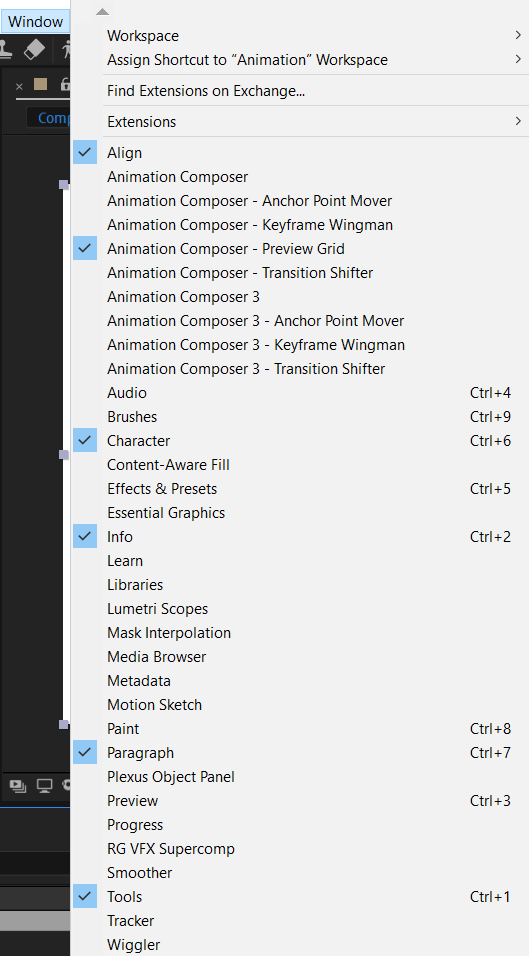
Window
You can use this Window menu to access the commands that further controls the After Effects interface. Here, you can choose your workspace as per your choice, like animation, standard, effects, minimal, small screen, and many more. Also, you can easily open or close the various panels found in the application interface.
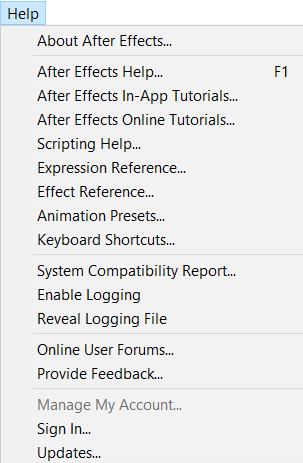
Help
Help is one of the last functions of the After Effects tool, which is common for both Windows and Mac users. The primary objective of adding this function to the tool is to help users if they are stuck while accessing this tool. Also, it allows you to access specific references like animation presets, keyboard shortcuts, along program updates.
Note- Now you might be thinking about what is that one extra feature that Mac users can leverage. Well! It is named an Application-specific menu. It is used to quit and hide the application. Mac OS users can also use this option for accessing the After Effects Preferences dialog box.
In a Crux
It's a brief intro about the After Effects menu. But there is still so much that you need to explore while using the After Effects tool. So, if you want to clear your technical round and make your graphic designing career successful, get your hands on the Adobe After Effects tool, as it is highly in demand.
So, are you executed to begin your career in this field? Visit webdew careers and apply now!
Editor- Divya Verma